Getting the Heat Right for Silk-Screened Glass
Here is the problem: silk-screening and tempering are basically fighting each other. You need a massive amount of heat to make the glass safe and strong, but that same heat can absolutely wreck your ink. One wrong move and your crisp lines start blurring or the colors shift. It’s a headache. The secret is all in how you handle the infrared (IR) heat.
Keeping the Ink Intact
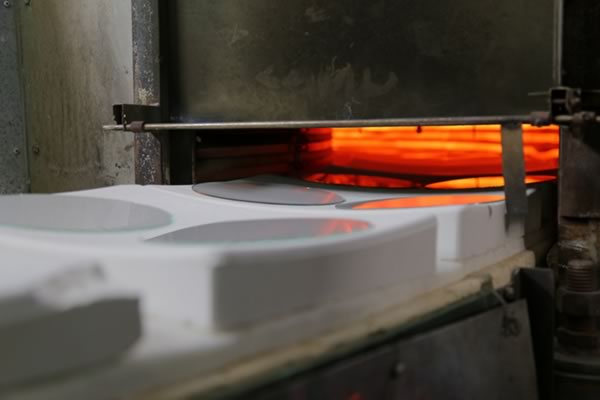
Most standard furnaces blast the surface of the glass way too hard. By the time the center of the glass is actually hot, the surface has already peaked, and your ink is scorched. We handle this by using short-wave IR lamps. Instead of just searing the top, these lamps reach deeper into the glass. It means the glass hits its softening point without turning your printed design into a smudge. But you can’t just crank it up. If you hit the glass too fast, the ink literally boils. Go too slow? You’re wasting time and you might not get the right stress levels for a safe break pattern. It’s a delicate balance.
Dealing with the Heat
High-wattage IR arrays get the job done fast, but they put a huge strain on your cooling. If your fans aren’t up to the task, you’re looking at warped furnace housings or electronics that just give up and trip. Not a great way to spend a Tuesday. A better way to handle this is by zoning your lamps. You can tweak the power in the pre-heat and soaking zones separately. This keeps the ink stable while making sure the core of the glass is hot enough for the quench.
The Big Trade-off: Speed vs. Looks
Here is the honest truth: you usually have to pick your poison. Fast cycles mean more glass out the door, but you risk “ghosting” in your prints. If you want those edges to stay razor-sharp, you’ll probably need to drop your lamp intensity by about 10-15%. Sure, that adds a bit of time to every sheet. But it’s the only way to make sure the final product actually looks the way it’s supposed to.